Character Creation
If you are creating your first character for T4C, selecting Enter the Realms in the Main Menu will automatically take you through the character creation process. You can return to the Main Menu at any time. You can create up to three characters in The 4th Coming. If you want more, you must purchase an additional account with your T4C service provider.
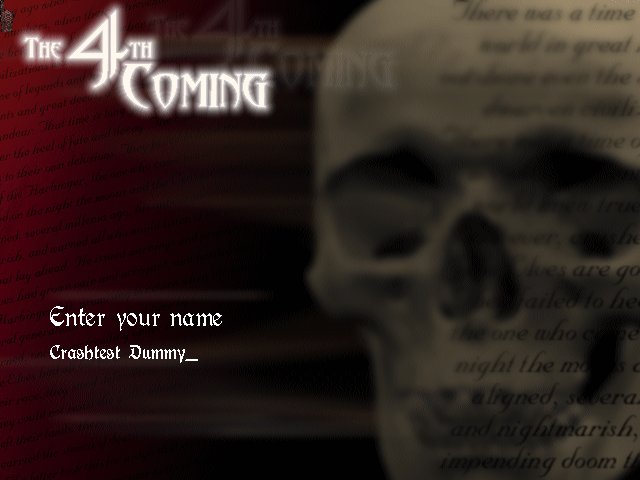
Character Name
At the Enter your name prompt, type the name of your character. You can use any alphanumeric combination, and spaces are allowed. Type Enter when ready.
 Character Gender
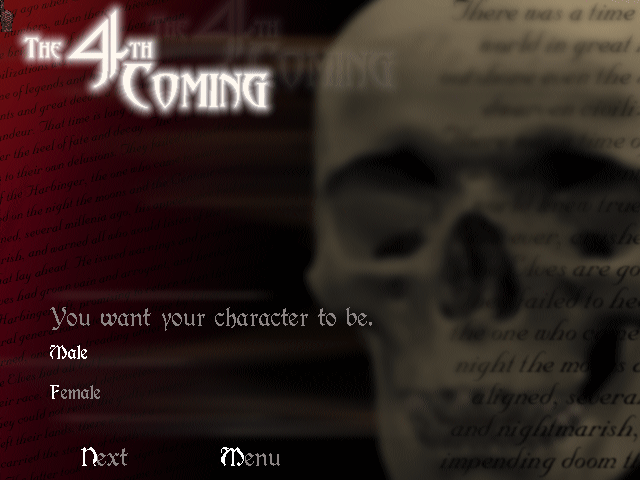
You have the option of playing a male or a female character. You must enter your choice here. Type Next when you are ready.
 The Four Questions
T4C will then ask you four questions which will be used to determine what kind of character you are going to play. Based on your answers, the stats for your various attributes will have specific ranges that make your character a better warrior, rogue, mage or priest. Keep in mind that T4C has no character classes, and that attributes are often used as pre-requisites to use certain items, or learn spells & skills.
You can select your answer using the Up and Down arrows, then pressing Accept when you have made your selection. For a in depth rolling your char research check the Xanthor's
Rolling your character page.
Attributes
Once you've answered the four questions, you will see your stats appear. If they are not to your satisfaction, you can press Reroll. If you want to accept the character, simply type Accept. You will automatically enter the game at this point.
There are five main attributes (also called stats) in T4C. As you go up in levels, you will receive stat points which you can use to increase one of these attributes. Before you spend your points, however, you should know what each attribute does in the game.
STR: Strength; this affects how much damage you do with your weapons and how much weight you can carry in your backpack. Also, several weapons have strength minimums. Until you have reached that minimum, you can own the weapon but cannot wield it in combat. Primary attribute for fighters.
END: Endurance; this affects your hit points (a measure of how much damage you can take in combat). Some weapons and armors require a minimum of endurance before you can use them in combat. Useful attribute for everyone.
AGI: Agility; this measures your dexterity and general nimbleness. Agility is very important in combat since it modifies your Armor Class (AC, a value which makes you more or less hard to hit). Primary attribute for archers and rogues; also useful for fighters.
WIS: Wisdom; this indicates how wise and "connected" with the gods and how insightful your character is. Several priestly spells (sometimes also called "miracles") have a minimum wisdom requirement. Primary attribute for priests.
INT: Intellect; this measures your character's intellect. Many spells have intelligence requirements; you cannot learn those spells until your intelligence has reached at least the minimum value. Primary attribute for wizards.
Experience and Levels
As your character fights courageously--or cowardly--treacherous foes, he or she will gain experience points (XPs). When you will have acquired enough experience points, you will gain a level and you will see a Level Up! sign on top of your character. When you have achieved a level, you will gain 15 skill points that you are free to spend or to keep for later uses.
How can you spend your hard-earned points? You will have to find a trainer willing to teach you a skill or to sharpen the skills you already have knowledge of. Usually, the trainers will ask for a small fee for a training session. Be ready to open your pouch for knowledge does not come cheap in these harsh lands.
Also, whenever you gain a level, you will also gain 5 attribute points that you may distribute as you choose. To add a statistic point, summon the stat box by pressing Ctrl-S, click on the + or - buttons next to the skills and then click on the Okay option.
Dying can cause a loss in experience points; the amount of XPs lost varies depending on whether you were killed by a monster or another player. The percentage lost is determined by the system operator, so please contact your provider to learn about these penalties. If your total experience falls below the amount required for the level you're at, your XP bar will become black and will remain so until you have regained sufficient experience to start advancing towards the next level again. Dying many times can give you a "black bar" for a long while, so don't let monsters kill you just to be teleported back to the temple.
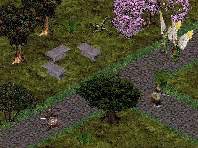
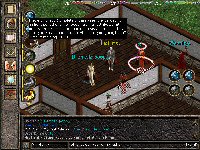
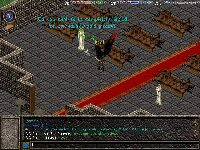
There 3 different ways to view the main (game) screen of T4C (Full screen, with menu and chat box on, only chat box on) and you can change between them hitting the esc button. In the images below you can view the three above options:
| Full Screen |
With Menu & Chat Box on |
With Chat Box on |
 |
 |
 |
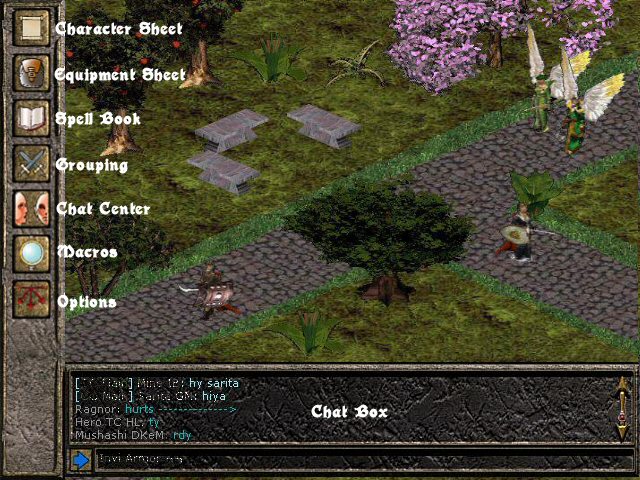
Menu (Left bar)
Using the menu on the left bar you can access your equipment, your character sheet, the spell book, the macros page, the chat center and the options page. In the chat box below you can view your chatting and other players shout and pages (check the
chat center for more details). Check the following picture for more details about the buttons:
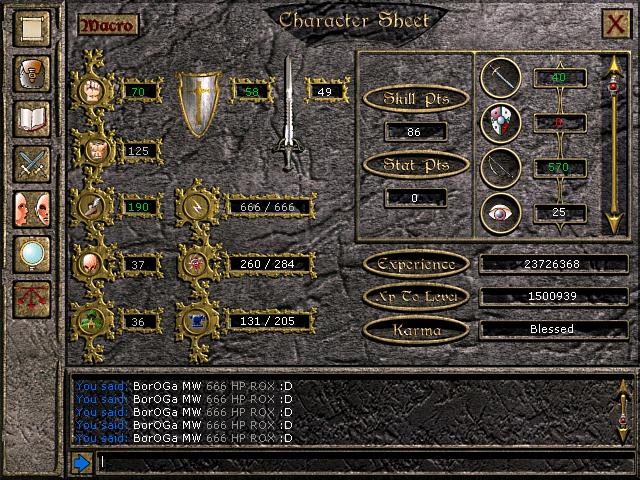
 Character Sheet (Macro: Ctrl+S)
This sheet contains all characters stats such us Strength, Endurance, Agility, Wisdom, Intelligence, Hit Points, Mana Points, Encumbrance, Armor Class, Skills, free Skill Points, free Stat Points, Experience and Karma. Right click on value icons (beside the stats) for a detailed description. Normally your stats are in white color, boosted stats (from items or spells) appear with green color. Also notice the macro icon at the top left corner. You can use it to macro skills (rob, pick, pick lock, first aid, hide, search, sneak and meditate).Just drag and drop the skill over the macro button.
 Equipment (Marco: Ctrl+I)
In this screen there are you inventory and your character equipment screen. View the image below for more detail. Drag and drop items from your inventory over your character in order to equip em or drag em from your char to the inventory to un-equip em.
Tip: There is not necessary to drag the item over the item position. Just drug and drop it over your character icon.

Remember to right click on icons for a detailed description. Macro button also appears in this page. Use it to macro items (such as potions, scrolls and gems). Just above your inventory box, there is your inventory gold listing and below it's a junk and a drop button. Drop and drug an item over the buttons if you want to drop it at the ground or junk it. Below those buttons there is text box. When your mouse is over an inventory item, the item name will be displayed in this text box.
Spell Book (Macro: Ctrl+P)
These book is now empty :P but once you learn your 1st spell, it's name and a short description of the spell will be listed in this book. A spell book page can handle up to 4 spells. You can change page by clicking on the top left or right corner of the book. Check the image below for more details:
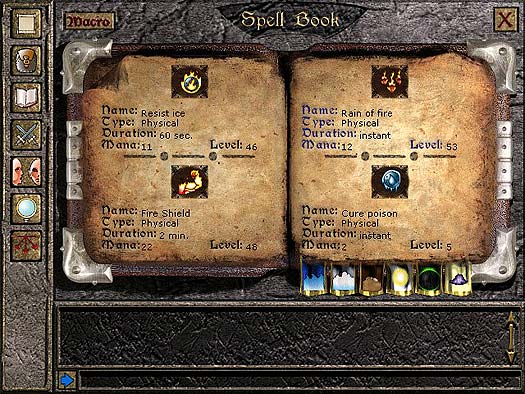
Notice that there is also a macro button at the top left corner. Drug and drop spells on this button in order to macro em. Also at the bottom right corner under the book page you can see some icons. Those icons are for elemental schools. Pressing on of those icons moves your spell book to the elemental school spells (example: air spells). First icon from the left is for air spells, second for ice, third for earth, forth for light, fifth for dark and sixth for non elemental spells.
Grouping (Macro: Ctrl+G)
Use this screen to make your party and share experience and gold with your companions. In the center of the screen there is a list with your companions (name, health and level). Below is the Invite button for inviting someone to join your party, the Leave button for leaving the group, the Expel button for expelling a party member (only if you are the group leader) and the Split button for sharing gold between members (if not pressed gold will be given to the party member that gives monster the final blow).
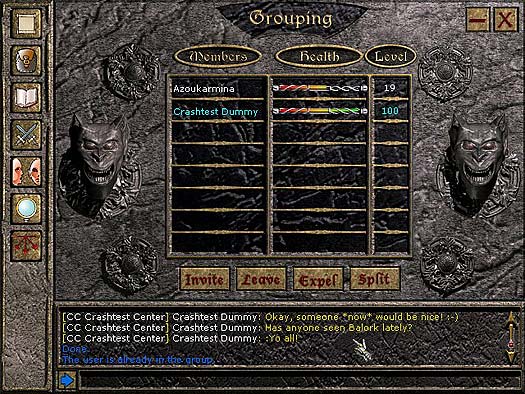
Also notice that in the top right corner there is a minimize button. Minimize the grouping screen and party member names and their health will appear at the top right corner of your game screen.
Chat Center (Macro: Ctrl+L)
Mumbling center hosts the online member list, a channel list and a bigger chat box ;) In the channel list at the top left corner you can view all user channels. Normally the game starts with two channels. Main witch is a channel for all users and bugs. Servers add custom channels so there is a change that you will start with more channels. Beside the channel box there are some buttons. The one with the green arrow is for creating a new channel and with the red button to delete one. Below is the ignoring button, use it to ignore a player and the un-ignoring button, to un-ignore a player. Beside channel names there is a green button. If you want to close the channel and do not listen what is going on in there, just click on green button and it will change to red. By clicking on channel name you can change its color and the messages from this channel will appears with the same color.
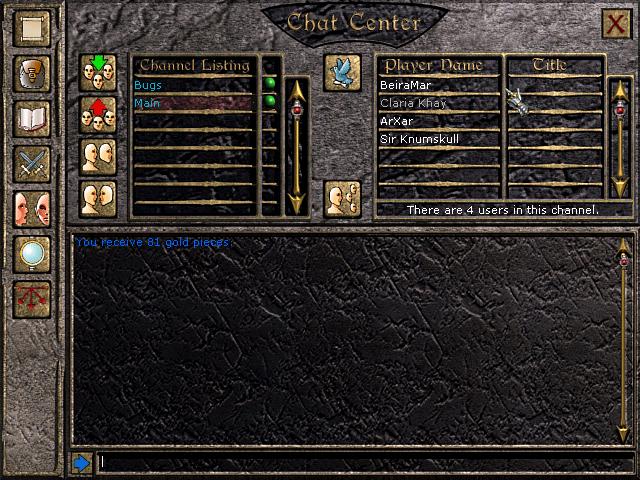
Between the channel and user listing there are two buttons. Use the birdie one for opening/closing pages (private messages). With the button below you can access your ignore list. The listing user box lists all online channel users (use main channel if you want to see all online players). Beside the player name there is a title box. If a user has a title it will appear in this box.
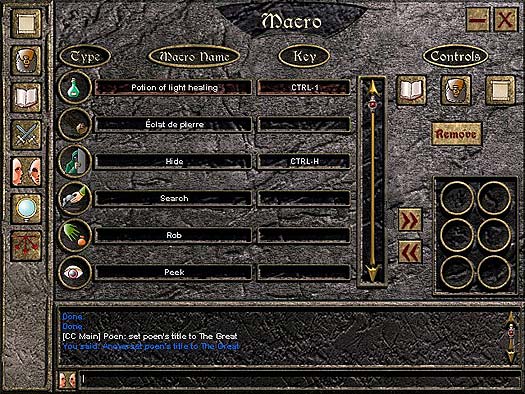
Macro (Macro: Ctrl+M)
Macro screen is of course for macros. Here you can add a macro keyboard key for spells, skills or items. All added objects will appear in this screen. Just double click on key box and add your macro key. Under controls there are three buttons for your character sheet, inventory and spell book. Below those buttons there are your quick macros. Click on object name then click on the arrow icon to add a quick macro. Click on quick macro icon and press remove to remove it. Use minimize button to add your quick macros at the bottom right corner of your game screen.
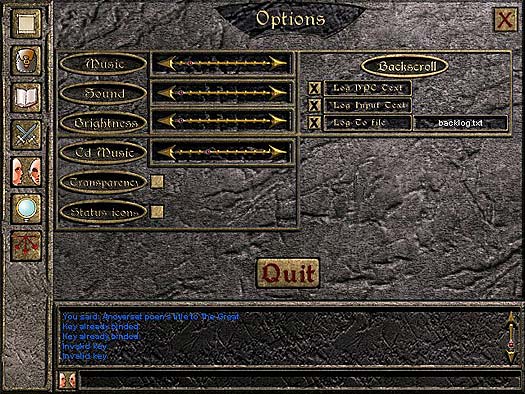
 Options (Macro: Ctrl+O)
All game option are here ;)
Music: use the slider to increase or decrease the music volume.
Sound: use the slider to increase or decrease the game sound effects.
Brightness: use the slider to increase or decrease you game brightness.
CD Music: not supported, just ignore it :P
Transparency: This checkbox allows you to decide whether you want walls, trees and other terrain features to be transparent.
Status Icons: This checkbox allows you to decide if you want to view the status icons of your active spells or items at the right side of your screen.
Backscroll: Allows you to determinate if and what dialogs will be stored in a log text document.
Quit: for quitting the game.